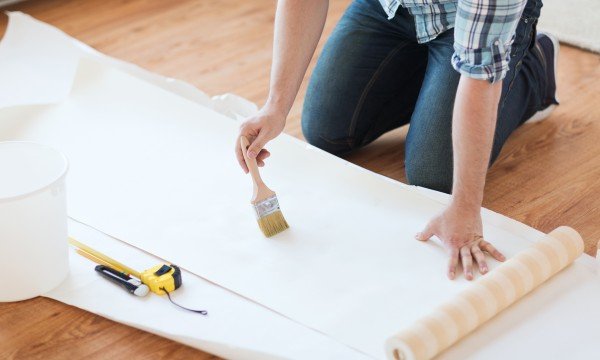
New wallpaper is a simple way to transform an entire room. Here are some professional tips that will help you hang your wallpaper with confidence.

Getting started
Your starting point will also be where you finish.
- Because it is almost impossible to have the pattern of your first and last panel line up perfectly, you want this joining place to be where it is least likely to be noticed.
Note: An exception is the mural-type scenic paper, which should be centred over a fireplace, behind the sofa or between matched windows.
- Wherever you begin, push a tack into the wall 3.5 centimetres (1 ½ inches) below the ceiling and tie a plumb line to the tack, letting the bob swing. When it comes to rest at true vertical, place a mark on the wall five centimetres (two inches) above the baseboard.
- If your plumb line is self-chalking, hold the string to the mark with one hand and pull back with the other; let it snap, leaving a chalk line on the wall. Similarly, rub coloured chalk along the string of a plain plumb bob before snapping.
- Now check to see where the pattern will best break at the ceiling line. Generally, with individual design elements, it’s most visually pleasing to start with a full element at top; with stripes, start at any point.
- Move the paper up and down until it’s positioned where you want the panel to begin at the ceiling and where it will end at the baseline.
- Lightly mark the locations with a pencil. Add five centimetres (two inches) to the top and bottom to make adjustments. Cut the panel.
Pasting and booking
- For unpasted paper, place measured panels face down on a worktable, one strip at a time. Using a roller or pasting brush, apply paste to the back. Work from the centre outward, and cover the upper two-thirds, including edges.
- Fold the pasted section on itself (“booking”) for ease in handling; but don’t crease the fold.
- Similarly, paste the bottom third of the strip and book toward the middle. Wait five minutes.
- Prepasted wall coverings require no additional pasting. Measure and cut the strip.
- Immerse pattern-side down in a tray of warm water, positioned on the floor at the foot of the worktable, for 10 to 15 seconds.
- Holding the edges nearest the table, slowly pull the strip onto the table, letting water fall back into the tray. Book the panel as before.
How to hang the first panel
- Unfold the top section; place the pasted side on the wall with five centimetres (two inches) overlapping the ceiling. Align one vertical edge with the plumb line, and gently smooth the upper section with a brush.
- Working from the centre to the edges, brush smooth about one metre (three feet) of paper at a time, using downward strokes. Continue to check alignment with your plumbed chalk line. Peel up portions of paper to reposition.
- Unfold the bottom section of the paper strip against the wall and smooth from the centre out and down to the baseboard, holding the adjacent edge to the plumb line. Don’t force wrinkles out; pull paper from the wall and reposition it.
Papering the remainder
- Match and cut the second strip. Hang it as you did the first, using the edge of the first strip as your vertical guide. Butt the two edges together, but do not overlap. (The slight ridge at the butt joint will flatten when the paper dries and shrinks.)
- Continue around the room, repeating each step in hanging.
- Wait 15 minutes, then firmly press fresh seams against the wall with the seam roller tool.
- Use a sponge and clean water to remove any paste that squeezes from the seams.
With these tips, it’s easy to wallpaper any room — get started today!
