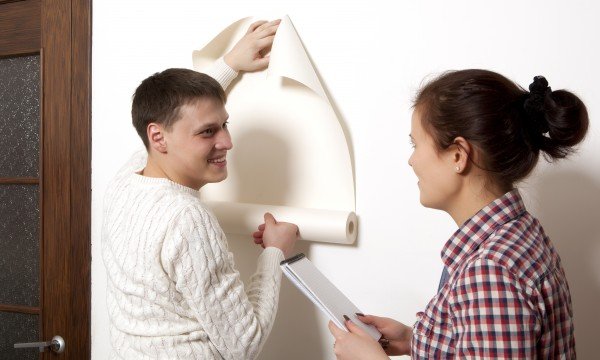
Wallpapering can be difficult when you have to face corners, trimming, windows and doors. Here are some tips that should make those challenges a little easier.

Hanging the first panel
- Unfold the top section; place the pasted side on the wall with five centimetres (two inches) overlapping the ceiling.
- Align one vertical edge with the plumb line, and gently smooth the upper section with a brush.
- Working from the centre to the edges, brush smooth about one metre (three feet) of paper at a time, using downward strokes.
- Continue to check alignment with your plumbed chalk line. Peel up portions of paper to reposition.
- Unfold the bottom section of the paper strip against the wall and smooth from the centre out and down to the baseboard, holding the adjacent edge to the plumb line.
- Don’t force wrinkles out; pull paper from the wall and reposition it.
Papering the remainder
- Match and cut the second strip. Hang it as you did the first, using the edge of the first strip as your vertical guide.
- Butt the two edges together, but do not overlap. (The slight ridge at the butt joint will flatten when the paper dries and shrinks.)
- Continue around the room, repeating each step in hanging.
- Wait 15 minutes, then firmly press fresh seams against the wall with the seam roller tool. Use a sponge and clean water to remove any paste that squeezes from the seams.
Turning a corner
- To paper an inside corner, measure from the last whole strip to the corner at three locations along the vertical edge.
- Cut and prepare a strip .25 centimetres (1/8 inch) wider than the widest measurement so that it will actually wrap the corner slightly when hung. Hang the strip.
- It’s safe to assume that the corner is not perfectly perpendicular, so you want to establish a new guideline for hanging the next sequence of panels on the far side of the corner.
- Drop a plumb line and hang the first panel on this next wall as you did the original panel on the previous wall. Align the panel edge vertically along the freshly marked plumb line.
- Overlap the previous panel’s corner-turned edge. If the wall covering has a vinyl-coated surface, run a bead of vinyl-to-vinyl adhesive under the top seam, and roll it firm to ensure that the seam is secure.
Trimming and rolling
- Using a joint knife or straightedge, press the top of the paper panel against the ceiling. When it is snug, take a sharp utility knife or single-edged razor knife and, with the edging tool to protect the paper, trim the overlap. Repeat the procedure at the baseboard.
- Change blades often to avoid tearing the paper.
- Rinse the molding and wall covering with a sponge dipped in warm water to remove excess paste. With each swipe, rinse the sponge.
- Run a seam roller along the edge that will not abut the second strip.
Papering around windows and doors
- Where casing partially intersects with a panel, paste the strip over the trim.
- Make a diagonal relief cut at the outside corner of the trim so that excess paper can be laid back.
- Position the strip so that the adhesive on the back contacts the wall, cut conservatively, and then reposition the paper until it fits. Tap it in place with the brush bristles.
- Trim the wallpaper with a razor blade and straightedge as you did at the ceiling and the baseboard.
Consider these tips before your next wallpaper project and you can finish your difficult room like a pro!
