The secret to quality sanding is to match the tool you use with the task in front of you. Team that up with patience, knowledge of grits, and these eight tips, and you’re set to go.
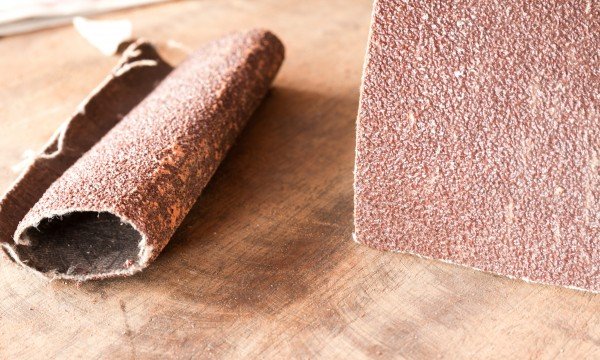
Sandpaper
- To sand the surfaces of tight inside curves, use a sanding block made from garden hose. Take a 15 centimetre (6 inch) length of hose and slit all but 2.5 centimetres (1 inch) of it with a sharp knife. Wrap your sandpaper around the hose with the abrasive side facing out, tucking the outer edges into the slit.
- If you do a lot of sanding, you should file your sandpaper sheets by size, type and grit in the pockets of an accordion file.
- Shaped trim is easier to sand with a sanding block that matches the contours of the wood. Surround a small sample piece of trim with offcuts that are about 1.5 centimetres (0.75 inches) higher than the surface to create a frame around the trim. Liberally apply oil or lubricating spray to the trim and to the internal faces of your frame. Fill with a two-part filler, allow to dry before carefully removing the frame and trim. Now wrap your sandpaper around the block and get to work.
- Sandpaper can wear through very quickly when you’re sanding. To make it last longer, back the sheet with strips of duct tape.
- When you’re doing a light sand over a large area, it can be hard to keep track of where you’ve sanded and where you haven’t. To avoid this problem, scribble light pencil lines over the surface of the piece you’re working on before you start, then sand away until all the marks are gone. Keep in mind, though, that the finer the grit of sandpaper you’re using, the lighter your pencil lines must be.
- A sanding drum fitted to a rotary tool can be very useful when sanding curves, but replacement sleeves can be expensive. If the surface of your sanding drum gets clogged with dust, try refreshing it with a rubber pencil eraser. Run the tool at low speed and press the rubber eraser into the clogged drum to rub out the debris. For extra steadiness, consider holding the rubber eraser in a vice.
- When you’re sanding small objects, rub them over your sandpaper rather than the other way around. To make this kind of work easier, fix sandpaper to a clipboard and hold down the sides with extra clips for a steady sanding board.
- For super smooth inside curves, sand with a tennis ball tightly wrapped in sandpaper.
Categories of sandpaper
Sandpaper is classified by a number reflecting the size of its grit particles. Higher numbers indicate smaller grains for finer sanding. Here are the common grades of sandpaper:
- 40-60: This sandpaper is very coarse. It’s useful for rough sanding and shaping, as well as removing paint.
- 80-150: This medium sandpaper is suited to intermediate sanding after rough sanding and sanding on previously painted surfaces.
- 180-220: Sandpaper with this sort of medium fine grit is great for final sanding before applying finish.
- 240-360: Paper with this level if grit is considered fine. It’s best for smoothing primer and paint and smoothing before a second coat of lacquer.
- 400 and up: This sandpaper is very fine. It’s suited to wet-sanding varnish or lacquer for an ultra smooth finish.
Combine the knowledge that the secret to great sanding is matching the tool you use to the job at hand, and these eight tips and you’ll be on your way to sanding like a pro.
home family recipes
You are so interesting! I do not believe I’ve truly read something like that before. So great to discover another person with a few unique thoughts on this subject. Really.. thank you for starting this up. This website is one thing that is needed on t…